Starter Guide to Retrofit - Android Studio- Part Three
Setting up the API call interface.
Welcome to part three of this guide. We are moving on well so far so well. Make sure to check out our previous guide to be on the same page. We will need to create an interface. This will dictate the behaviors or the triggered processes. To keep this simple, we will only have one method call - the GET request.
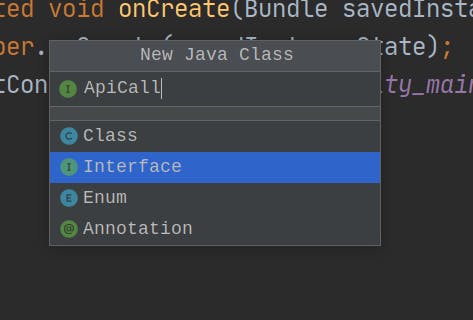
Ensure you select Interface while creating this file.

Once the interface class is created, we will need to take a look at our URL endpoint. We will need to identify the base URL and the query parameter that is joined to the base URL to make the URL complete for the APIA call. We will use the URL we generated from our get started with mockie tutorial.
Take note of the whole endpoint.
https://run.mocky.io/v3/5c74bfac-c04d-48f3-aa51-d1fdc5086bc4
The base URL
https://run.mocky.io
The other part of the URL
v3/5c74bfac-c04d-48f3-aa51-d1fdc5086bc4
In our interface, we will implement the GET method that will be annotated on the method that will do the actual call. On the call method, we will pass the template of the object that is to be called.
The interface should look like this. ( Ensure to all the necessary imports )
public interface ApiCall {

    @GET("v3/5c74bfac-c04d-48f3-aa51-d1fdc5086bc4")
    Call<ProfileModel> getData();

}
That is it, we have managed to set up our interface that assists in the API call. See you in the next guide as we make our actual API call from our APP.
