Starter Guide to Retrofit - Android Studio- Part One
Setting up Retrofit and GSON.


Set Up.
Welcome to this section of my guide, this is part of an introductory to retrofit series. enjoy.
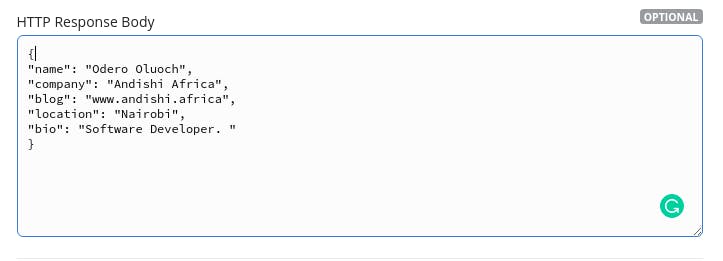
To follow along with this guide, we will need a REST API endpoint that will return a JSON response for us to parse to our android app.
You can follow my previous post where we use mockey.io to create a mock API endpoint. This is the JSON response from the URL, we will use it in this guide.
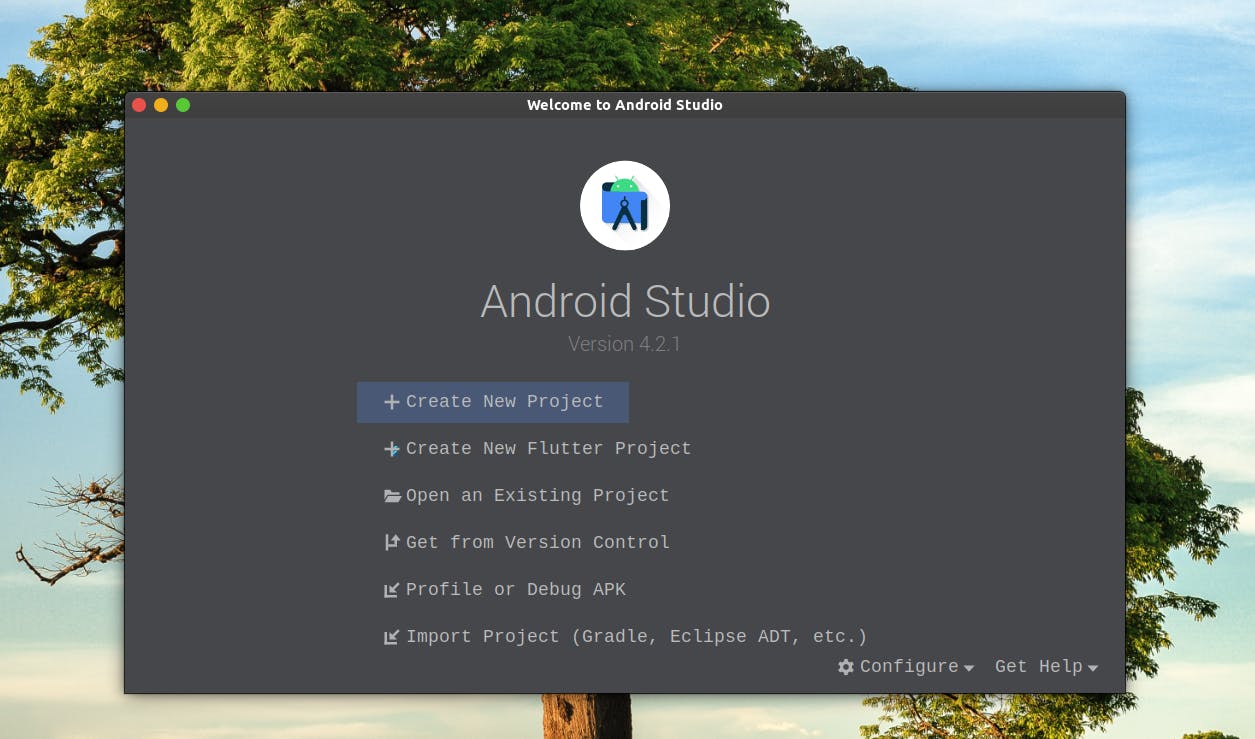
Make a new Android studio project
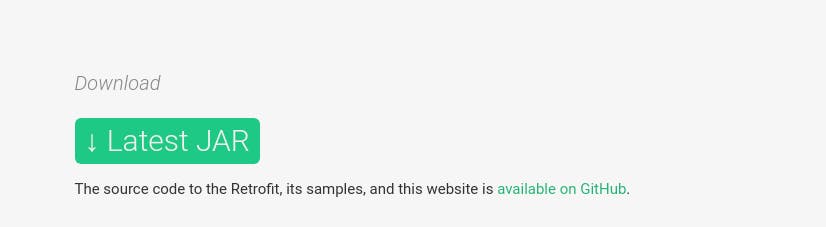
We will need to add the Retrofit library into our Gradle file. Go to square.github.io/retrofit
Navigate to this point on the webpage
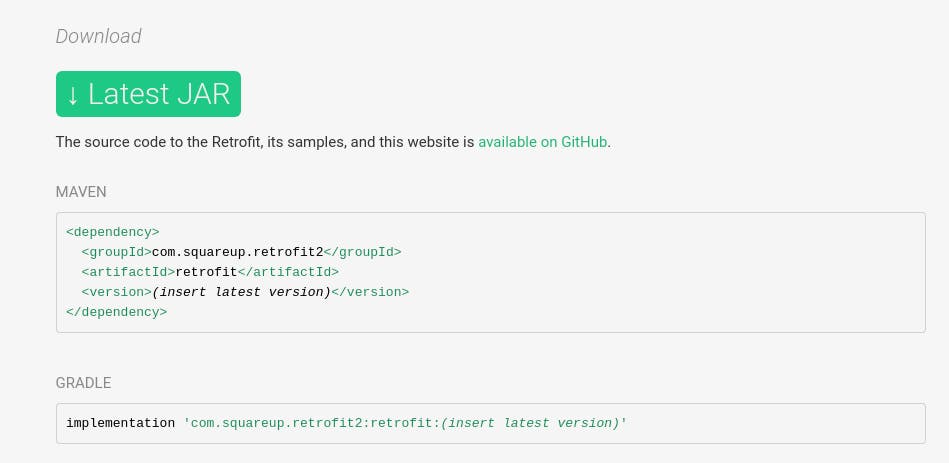
Take note of the Gradle
implementation 'com.squareup.retrofit2:retrofit:(insert latest version)'
To get the latest version, follow this link to the retrofit GitHub page
Navigate to this point on the GitHub page
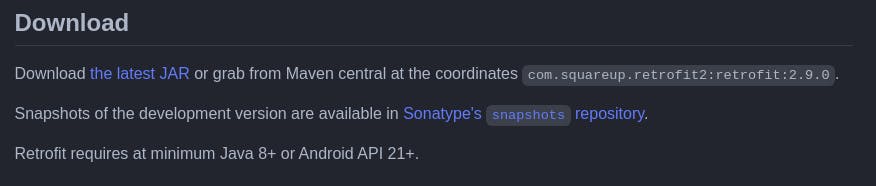
Take note of this line, which is the latest version as at the time I am writing this guide.
com.squareup.retrofit2:retrofit:2.9.0
In the App Gradle file on the new project created, add this line
implementation 'com.squareup.retrofit2:retrofit:2.9.0'
It should look something like this.

Sync the project and let us move to the next step where we set up GSON. On the retrofit website, navigate to this point and take note of the line where GSON is mentioned.

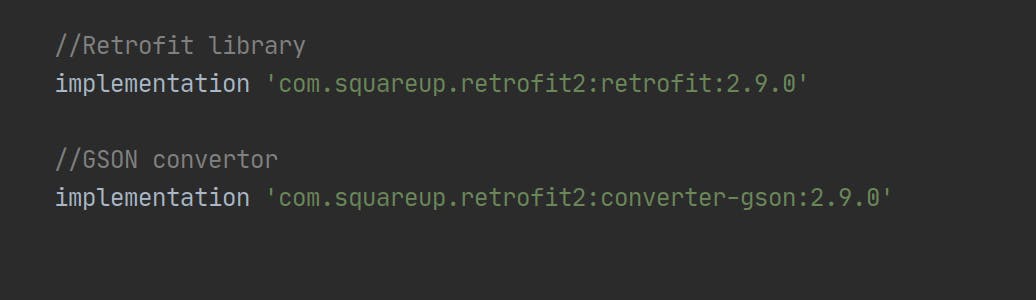
Add this line to your app Gradle file, and sync the project.
implementation 'com.squareup.retrofit2:converter-gson:2.9.0'
Your app Gradle file should now have the following dependency libraries included.
That is the setup we need so far so good. You can catch stat from this guide or continue with us in the next guide